Understanding Solar Power for Your Campervan

Few upgrades extend your off‑grid freedom like a well‑designed solar‑electric system. Solar lets you run lights, refrigeration, laptops and even induction cooktops without the noise, fumes or fuel costs of a generator.
Modern high‑efficiency panels and affordable lithium batteries mean a reliable, silent power‑plant is within reach of most DIY builders.
Why Solar Power in 2025?
Panel efficiency has jumped thanks to TOPCon N‑type cells that reach 25 % conversion, while lithium‑iron‑phosphate (LiFePO4) batteries have dropped below AUD $750 for a smart 100 Ah pack. Combined with phone‑based monitoring, van solar has never been smarter or cheaper.
- Quiet & Clean: zero exhaust, zero maintenance apart from rinsing panels.
- Low Running Costs: sunlight is free – you only pay once to install.
- Modular: start with a single 200 W panel and add capacity as your needs grow.
Latest Solar Panel Technologies
Two breakthroughs dominate 2025 campervan roofs:
- N‑Type TOPCon Monocrystalline: 21–25 % efficient with excellent low‑light output.
- Bifacial Flexible Panels: harvest reflected light from the roof paint, adding up to 30 % extra yield.

Example: a 200 W TOPCon panel now weighs just 5.3 kg and produces more power than a 260 W poly panel from five years ago.
Calculating Your Daily Energy Budget
List every appliance, note its wattage and expected run‑time. Multiply to get watt‑hours (Wh). Sum them and add a 20 % buffer for inefficiencies.
| Appliance | W | hrs/day | Wh/day |
|---|---|---|---|
| Compressor Fridge | 50 | 9 | 450 |
| LED Lights | 15 | 5 | 75 |
| Laptop | 60 | 3 | 180 |
| Water Pump | 40 | 0.5 | 20 |
| Vent Fan | 15 | 10 | 150 |
Total: 875 Wh × 1.2 buffer ≈ 1,050 Wh per day.
Sizing Your System
Panel capacity = Daily Wh ÷ Peak‑sun‑hours (PSH). In most of Australia PSH ≈ 5.
1,050 Wh ÷ 5 h = 210 W → install at least 300 W to allow for cloudy days.
Core Components
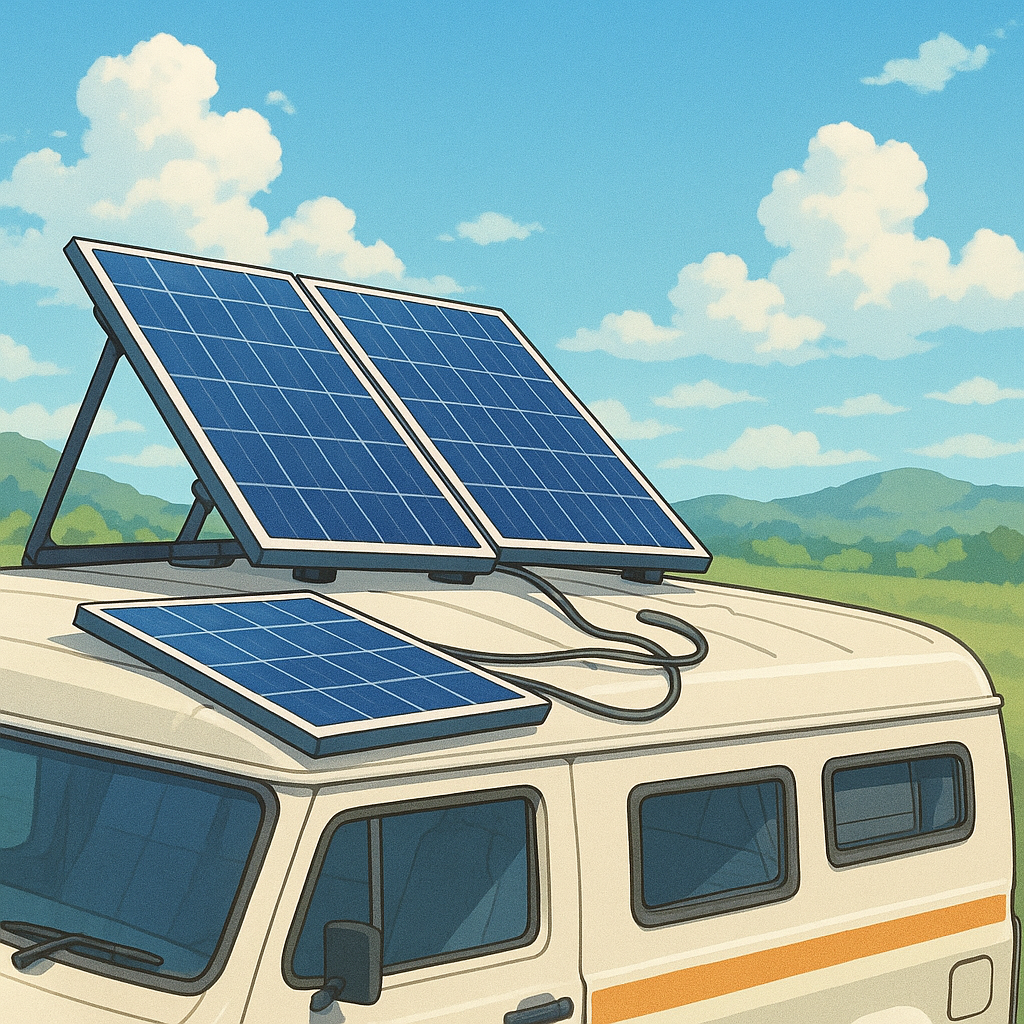
Solar Panels
Rigid aluminium‑framed panels are durable; flexible laminate panels keep weight and wind‑noise down. Look for IP67 connectors and a 25‑year output warranty.
MPPT Charge Controller

Modern MPPTs harvest up to 97 % of available power and pair with smartphone apps such as VictronConnect for 30‑day performance logs.
Battery Bank
LiFePO4 prices in Australia start around AUD $749 for a Bluetooth‑enabled 12 V 100 Ah pack and scale to $5 k for 600 Ah monsters built for air‑conditioners.
Inverter
Choose a pure sine model sized to your peak simultaneous AC load. For laptops and an induction cooktop, 2,000 W continuous is common.
System Monitoring & Automation
Smart hubs now analyse weather forecasts and your GPS location to schedule heavy loads – turning on a water heater only when surplus solar is predicted.
Installation Best Practices
- Leave a 20 mm air‑gap under rigid panels for cooling.
- Use UV‑stable adhesive cable glands through the roof.
- Route cables on the warm side of insulation to avoid dew damage.
- Fuse both solar input and battery output within 200 mm of terminals.
Common Mistakes to Avoid
- Undersized cabling causing voltage drop.
- Mixing panel types or voltages on a single MPPT.
- Neglecting ventilation around batteries and controllers.
- Skipping a shunt‑based battery monitor – you can’t manage what you can’t measure.
Real‑World Set‑ups (2025)
Weekend Warrior: 200 W TOPCon + 100 Ah LiFePO4 + 20 A MPPT – roughly AUD $2,200 in parts.
Full‑Time Remote Worker: 600 W bifacial array + 300 Ah LiFePO4 + 3,000 W inverter – about AUD $8,000 including smart‑hub automation.
Maintenance & Troubleshooting
Rinse panels quarterly with soapy water, check torque on lugs annually, and update firmware in your MPPT app when notified.
Cost Outlook
Panel prices have fallen ~12 % since 2023, and analysts expect a further 7 % drop by mid‑2026 as TOPCon manufacturing scales. Lithium prices, meanwhile, are stabilising after the pandemic spike.
Conclusion
The combination of high‑efficiency panels, affordable lithium storage, and intelligent monitoring makes 2025 the perfect time to electrify your campervan. Design for 20 % headroom, build with quality components, and the sun will power your adventures for years to come.
